mercredi 6 avril 2016

Introduction


I am Chesner DESIR, PhD in computer science, deeply in love with machine learning, automatic classification.

I'm interested in computer vision, artificial intelligence, scientific discoveries, new technologies, mobile applications, innovation, project management, entrepreneurship, art, history and literature.

I am working on automatic classification systems for computer-aided diagnosis approaches. My field of research embraces ensemble methods, one-class classification, feature extraction. I have founded the startup ErgSap, developing innovative mobile applications with education & design in mind, integrating computer vision & machine learning algorithms.

I am seeking a position as an R&D Engineer in Machine Learning, data mining and signal processing that will benefit from my experiences in artificial intelligence, data processing in a challenging environment.

I am an enthusiastic, fast learning and adaptive entrepreneur, with innovation in mind, a team player, resourceful and rigorous with organizational skills willing to develop new skills and solve new challenges.

Special fields
→Pattern Recognition, Machine Learning, Computer Vision, Science Computing, android development


♫ International profile
♫ Languages: French, English, Spanish

See my Linkedin profile : https://fr.linkedin.com/in/chesnerdesir


Thesis : Classification automatique d'images, application à l'imagerie confocale du poumon profond, LITIS-EA4108 - Université de Rouen

Encadrement: Pr. Laurent Heutte* (directeur), Assistant Pr. Caroline Petitjean*, Pr. Luc Thiberville**

*Université de Rouen
**CHU de Rouen


Résumé


"Cette thèse porte sur la classification automatique d'images, appliquée aux images acquises par alvéoscopie, une nouvelle technique d'imagerie du poumon profond. L'objectif est la conception et le développement d'un système d'aide au diagnostic permettant d'aider le praticien à analyser ces images jamais vues auparavant. 
Nous avons élaboré, au travers de deux contributions, des méthodes performantes, génériques et robustes permettant de classer de façon satisfaisante les images de patients sains et pathologiques. Nous avons proposé un premier système complet de classification basé à la fois sur une caractérisation locale et riche du contenu des images, une approche de classification par méthodes d'ensemble d'arbres aléatoires et un mécanisme de pilotage du rejet de décision, fournissant à l'expert médical un moyen de renforcer la fiabilité du système. 
Face à la complexité des images alvéoscopiques et la difficulté de caractériser les cas pathologiques, contrairement aux cas sains, nous nous sommes orientés vers la classification one-class qui permet d'apprendre à partir des seules données des cas sains. Nous avons alors proposé une approche one-class tirant partie des mécanismes de combinaison et d'injection d'aléatoire des méthodes d'ensemble d'arbres de décision pour répondre aux difficultés rencontrées dans les approches standards, notamment la malédiction de la dimension. Les résultats obtenus montrent que notre méthode est performante, robuste à la dimension, compétitive et même meilleure comparée aux méthodes de l'état de l'art sur une grande variété de bases publiques. Elle s'est notamment avérée pertinente pour notre problématique médicale."

Mots-clefs : Alvéoscopie; aide au diagnostic médical; classification automatique; extraction de caractéristiques; méthodes d'ensemble; arbre de décision; injection d'aléatoire; forêts aléatoires; one-class; out-of-class; synthèse de données; malédiction de la dimension

Abstract

"This thesis deals with automated image classification, applied to images acquired with alveoscopy, a new imaging technique of the distal lung. The aim is to propose and develop a computer aided-diagnosis system, so as to help the clinician analyze these images never seen before. Our contributions lie in the development of effective, robust and generic methods to classify images of healthy and pathological patients. Our first classification system is based on a rich and local characterization of the images, an ensemble of random trees approach for classification and a rejection mechanism, providing the medical expert with tools to enhance the reliability of the system. Due to the complexity of alveoscopy images and to the lack of expertize on the pathological cases (unlike healthy cases), we adopt the one-class learning paradigm which allows to learn a classifier from healthy data only. We propose a one-class approach taking advantage of combining and randomization mechanisms of ensemble methods to respond to common issues such as the curse of dimensionality. Our method is shown to be effective, robust to the dimension, competitive and even better than state-of-the-art methods on various public datasets. It has proved to be particularly relevant to our medical problem."

Keywords: Alveoscopy; computer aided-diagnosis; automatic classification; feature extraction; ensemble methods; decision tree; randomization; random forests; one-class; out-of-class; data synthesis; curse of dimensionality


Téléchargements (downloads) :


MISC:
  • Oeuvres mathématiques du Prof. Jacques Harthong [Archives] ou [Web]
  • Le bilan de l'intelligence, Paul Valéry, Ed. Allia, http://goo.gl/eEfhS
  • L'équation du nénuphar, Albert Jacquard, Ed. Le Livre de Poche, http://goo.gl/yqjC2
  • My Stroke of Insight, Jill Bolte Taylor, Plume, 224 pages [Amazon]

jeudi 22 octobre 2015

Increase response server timeout with firefox


Need to increase response server timeout with firefox ?

Go to about:config and search for the key name network.http.response.timeout and change to the desired value (in seconds).

Do not forget to set it back to its default value (default:300 seconds, a coffee break !)

Thanks to http://morgb.blogspot.fr/2014/05/firefox-29-and-http-response-timeout.html
and mozilla support forum https://support.mozilla.org/en-US/questions/998088


jeudi 19 février 2015

Hello World NDK using Gradle configuration

Default configuration for building NDK enabled applications using grade could be cumbersome, moreover NDK is not supported officially and has no stable branches as far as i know (december 2014)... I present below existing solutions for UNIX systems using IntelliJIDEA IDE.

This Hello World includes:
  • Call of native functions
  • JNI header generation
  • NDK configuration in gradle
  • Unit test


Download this Hello World project on Github https://github.com/eudhan/HelloWorldGradleNDK

Tools used in this article

  • IntelliJIDEA 14.0.1 : https://www.jetbrains.com/idea/
    • IntelliJIDEA JNI Helper plugin : https://plugins.jetbrains.com/plugin/7670
  • Java JDK 1.6
  • Android SDK 24.0.2
  • NDK r10d


New project


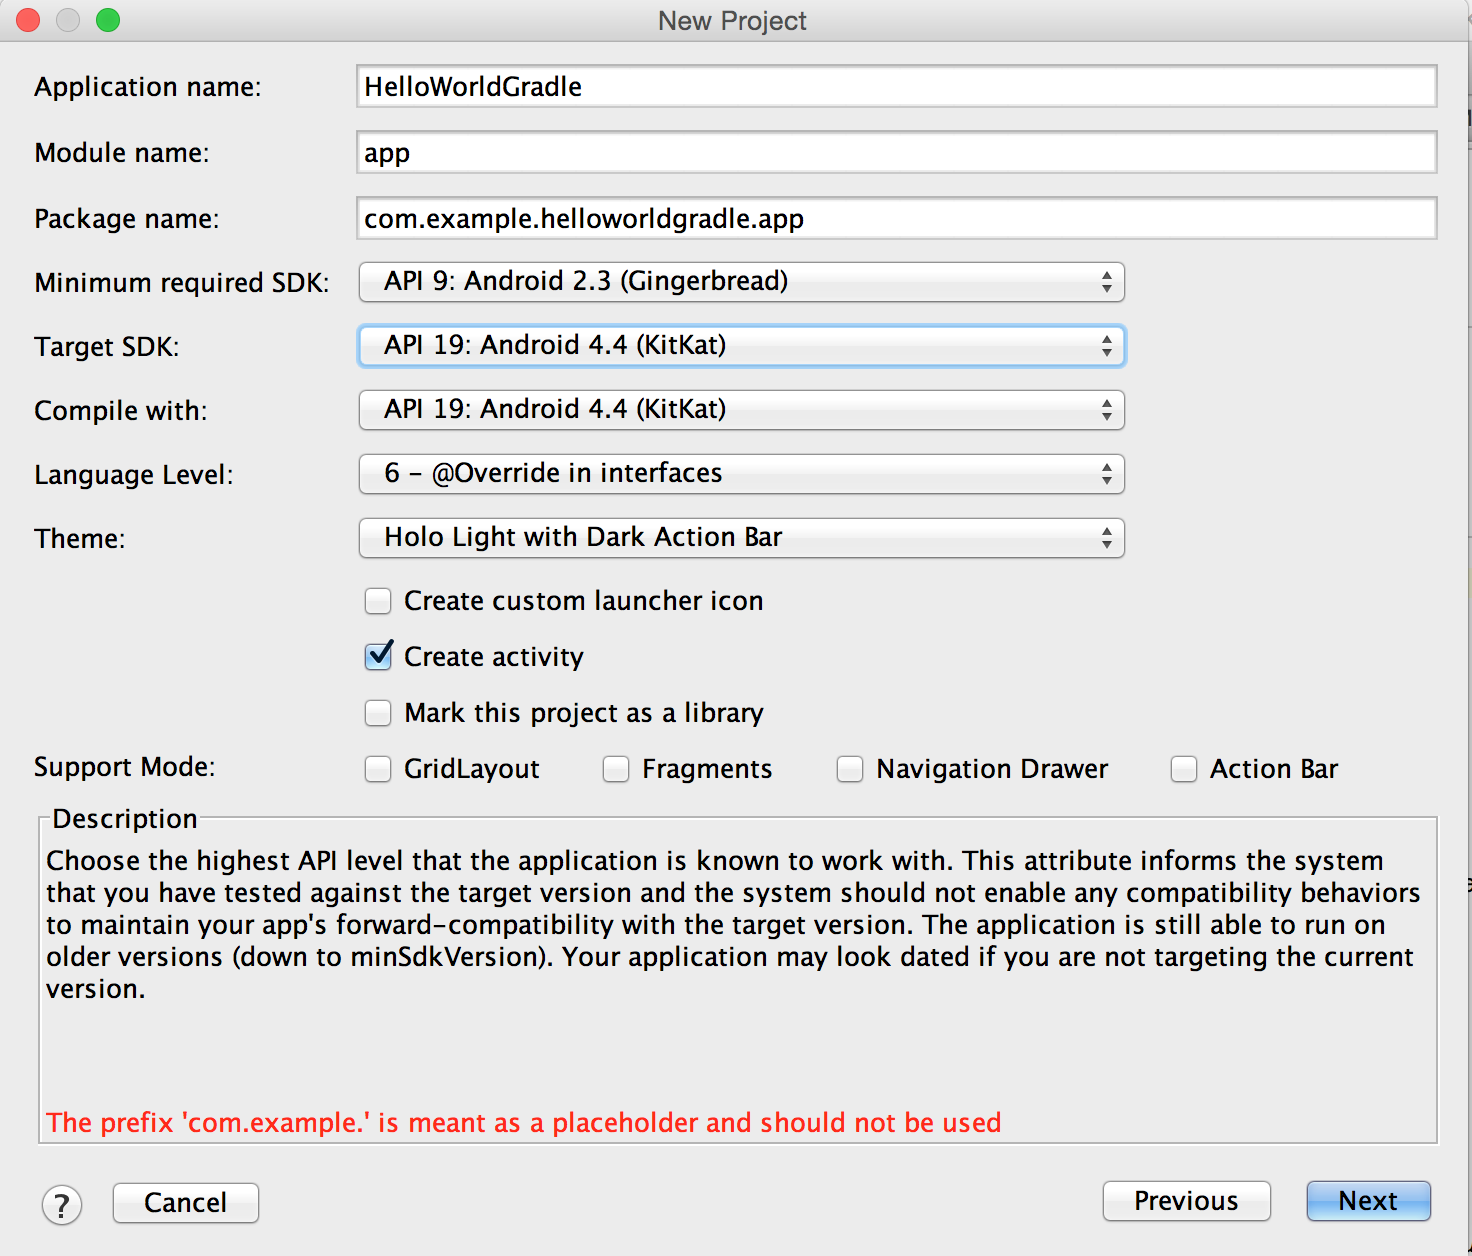
We first create a blank activity extending Activity or ActionBarActivity :
public class helloWorldGradle extends ActionBarActivity


Native calls


We then create two methods for calling native functions that we will present below :
public native String getMessageFromNative();
public native int getIntegerFromNative(int d);
The corresponding native functions are bundled in the dynamic library that we will name "myHello" and loaded in the activity using :

static {
  System.loadLibrary("myHello");
}

In the onCreate method, we will call the native functions :
@Overrideprotected void onCreate(Bundle savedInstanceState) {
super.onCreate(savedInstanceState); 
setContentView(R.layout.activity_hello_world_gradle); 
final TextView txtIntro= (TextView) findViewById(R.id.txtIntro); 
int val = getIntegerFromNative(5); String txt= "Native says:" + getMessageFromNative() + "#value:" + String.valueOf(val);
...}

The layout of our activity is as follow :


We added a button for running the method multiple times. Just modify the onCreate method :

final TextView txtIntro= (TextView) findViewById(R.id.txtIntro);
Button buttonTest= (Button) findViewById(R.id.buttonTest);


int val = getIntegerFromNative(5);
String txt= "Native says:" + getMessageFromNative() + "#value:" + String.valueOf(val);

txtIntro.setText(txt); 
buttonTest.setOnClickListener(new View.OnClickListener() {
@Override public void onClick(View view) {
Random t= new Random();
int d=t.nextInt(10);
int val = getIntegerFromNative(d);
String txt= "Native says:" + getMessageFromNative() + "#value("+String.valueOf(d)+"):" + String.valueOf(val);
txtIntro.setText(txt);
}
});


JNI part


We compile the activity class in order to generate *.class files in build folder that will be used by the JNI Helper plugin.
We then use the JNI Helper plugin to create the "jni" folder with the proper header associated to the class of the activity that we have created : right click inside the activity class, you will see the command "generate *.h by javah".

The JNI Helper plugin essentially use the command "javah -d jni -classpath dot_class_files_path package_name", avoiding configuration bugs and handling default path for android classes paths. It just works !


The header generated by JNI Helper and that can be found in jni folder declares the following associated methods:

JNIEXPORT jstring JNICALL Java_com_example_myappgradle_app_helloWorldGradle_getMessageFromNative
(JNIEnv *, jobject);

JNIEXPORT jint JNICALL Java_com_example_myappgradle_app_helloWorldGradle_getIntegerFromNative
(JNIEnv *, jobject, jint);


We will implement these methods in a C file hello.c

#include "com_example_myappgradle_app_helloWorldGradle.h"
JNIEXPORT jstring JNICALL Java_com_example_myappgradle_app_helloWorldGradle_getMessageFromNative
(JNIEnv *env, jobject obj){
return (*env)->NewStringUTF(env,"Hello World from Native ---<!!");
}

JNIEXPORT jint JNICALL Java_com_example_myappgradle_app_helloWorldGradle_getIntegerFromNative
(JNIEnv *env, jobject obj, jint d){

jint i, s=1;
for(i=1;i<=d;++i) s=s*i;//get d!
return s;
}


In order to compile the library myHello from the source file above, we need Makefile equivalent for the NDK Android.mk and Application.mk files in the jni folder.


In the Android.mk file, we simply indicate:

LOCAL_PATH := $(call my-dir)
include $(CLEAR_VARS) 
LOCAL_MODULE := myHello
LOCAL_SRC_FILES := hello.c
LOCAL_CFLAGS := 
include $(BUILD_SHARED_LIBRARY)

In the Application.mk file:
APP_ABI := all
APP_STL := stlport_static

If the variable APP_STL is not set, default runtime will be used for this simple example.


Gradle configuration


Edit the file app/build.gradle and add in the android section NDK configurations:

sourceSets {
main{
jniLibs.srcDir 'src/main/libs' //jniLibs //jni.srcDirs 'src/main/jni' }
}
jniLibs.srcDir variable indicates the folder that replaces the default jniLibs folder considered by default when building your application. Using the command ndk-build will generate libraries in "libs folder" and not "jniLibs" as expected by your app... Setting properly this variable is a workaround.

jni.srcDirs indicates the folder that replace the folder "jni" for the location of the sources to be considered when using the NDK.


Then we specify the binary to be used by gradle to compile our library :

task ndkBuild(type: Exec,description: 'Compile JNI source via NDK'){
println('executing ndkBuild')
//read local.properties file def ndkBuildPath = project.plugins.findPlugin('com.android.application').getNdkFolder().absolutePath + File.separator//or com.android.library if (Os.isFamily(Os.FAMILY_WINDOWS)) {
ndkBuildPath +='ndk-build.cmd' } else {
ndkBuildPath +='ndk-build' }
commandLine ndkBuildPath, '-C', file('src/main/jni').absolutePath //'NDK_PROJECT_PATH=build','APP_BUILD_SCRIPT=src/main/jni/Android.mk'//force using appropriate Makefile
}
tasks.withType(JavaCompile){
compileTask -> compileTask.dependsOn ndkBuild
}


The tricky part "project.plugins.findPlugin('com.android.application').getNdkFolder().absolutePath + File.separator"

enables the script to properly locate the NDK directory indicated in ./local.properties file

sdk.dir=/Users/eudhan/Documents/projects/android/sdk/android-sdk-macosxndk.dir=/Users/eudhan/Documents/projects/android/sdk/android-ndk-r10d
Do not use path containing spaces or special characters in this file ... really do not.


And your are done !


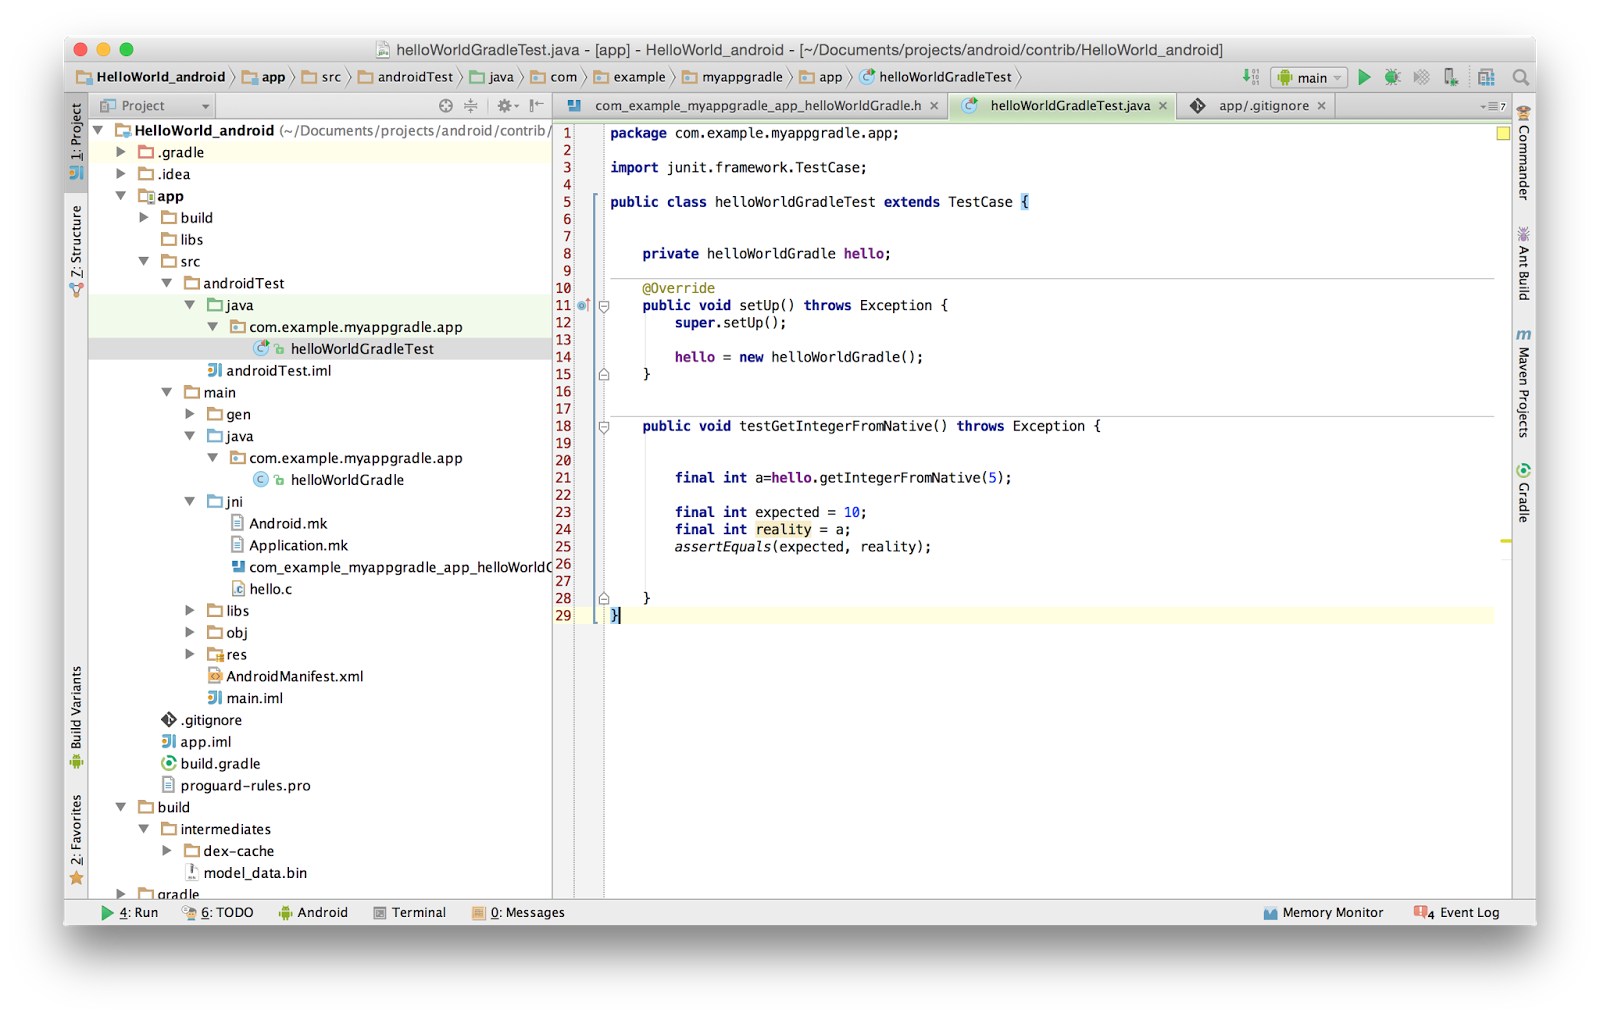
We can simply add Unit Testing to our application easily :


Click on your test folder to run all available tests in this folder:


Download this Hello World project on Github https://github.com/eudhan/HelloWorldGradleNDK