Default configuration for building NDK enabled applications using grade could be cumbersome, moreover NDK is not supported officially and has no stable branches as far as i know (december 2014)... I present below existing solutions for UNIX systems using IntelliJIDEA IDE.
This Hello World includes:
Download this Hello World project on Github https://github.com/eudhan/HelloWorldGradleNDK


We then create two methods for calling native functions that we will present below :


jni.srcDirs indicates the folder that replace the folder "jni" for the location of the sources to be considered when using the NDK.


This Hello World includes:
- Call of native functions
- JNI header generation
- NDK configuration in gradle
- Unit test
Download this Hello World project on Github https://github.com/eudhan/HelloWorldGradleNDK
Tools used in this article
- IntelliJIDEA 14.0.1 : https://www.jetbrains.com/idea/
- IntelliJIDEA JNI Helper plugin : https://plugins.jetbrains.com/plugin/7670
- Java JDK 1.6
- Android SDK 24.0.2
- NDK r10d
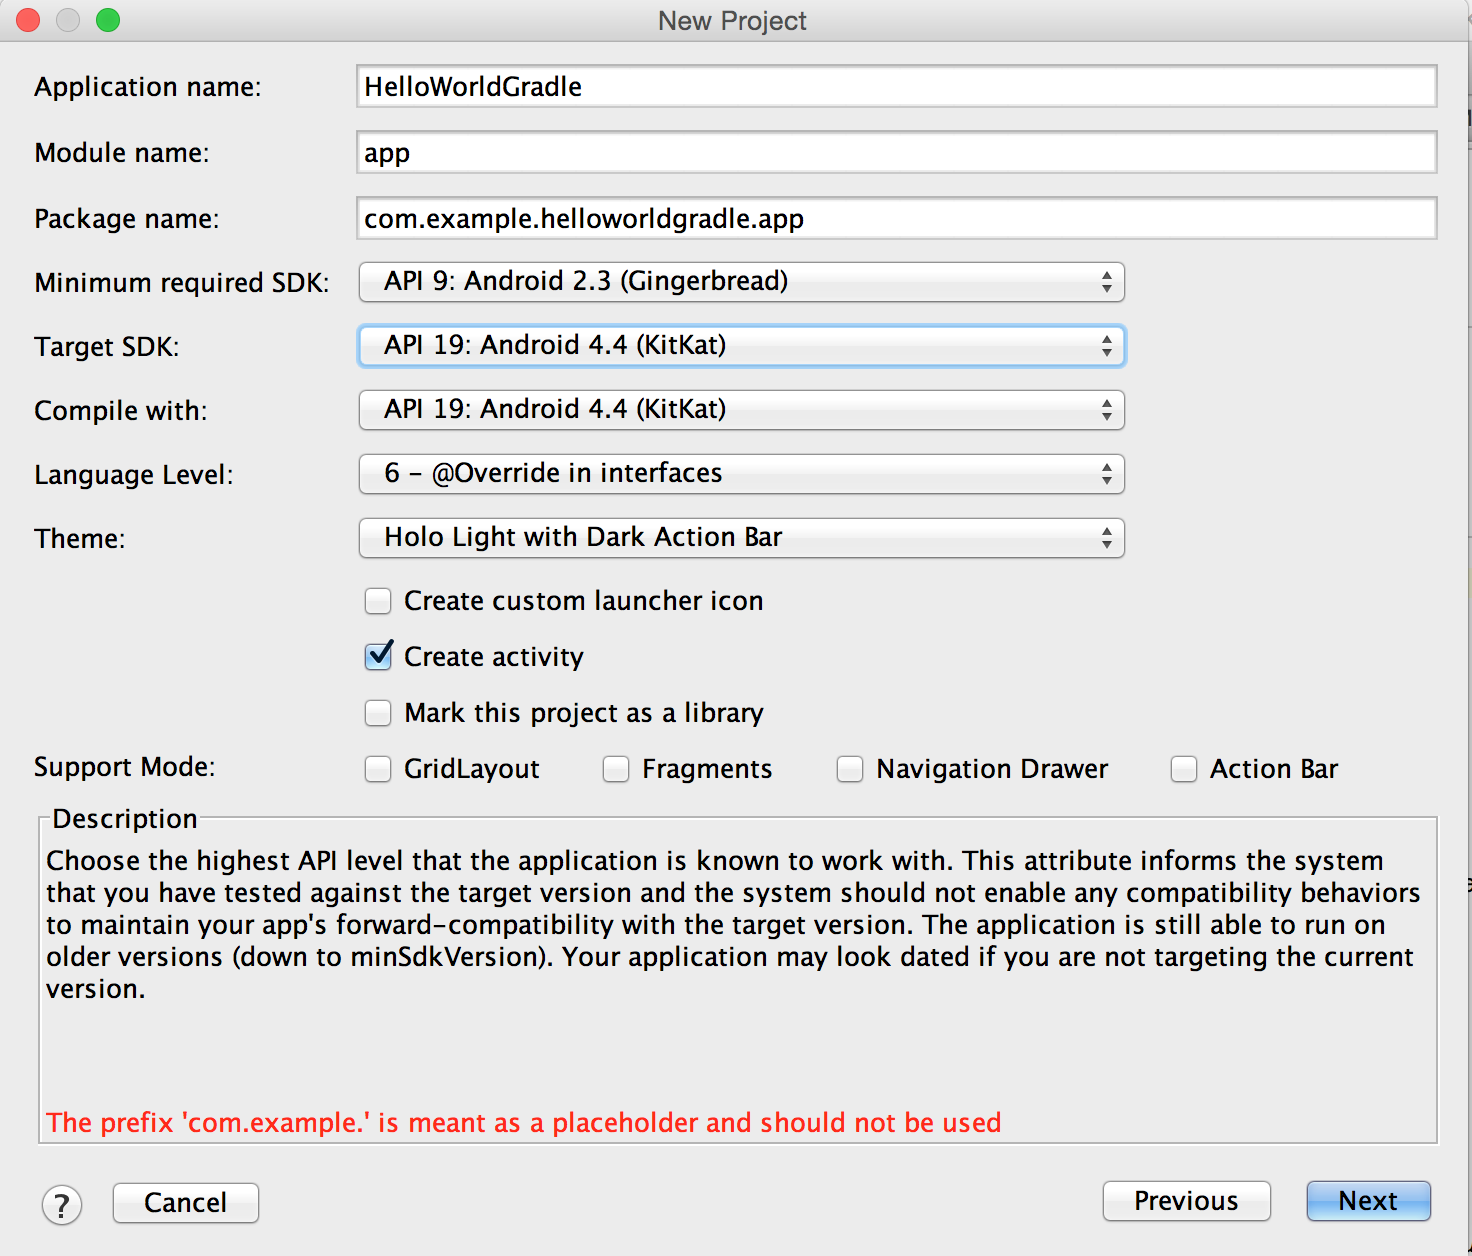
New project
We first create a blank activity extending Activity or ActionBarActivity :
public class helloWorldGradle extends ActionBarActivity
Native calls
We then create two methods for calling native functions that we will present below :
public native String getMessageFromNative();
public native int getIntegerFromNative(int d);
The corresponding native functions are bundled in the dynamic library that we will name "myHello" and loaded in the activity using :
static {
System.loadLibrary("myHello");
}
In the onCreate method, we will call the native functions :
@Overrideprotected void onCreate(Bundle savedInstanceState) {
super.onCreate(savedInstanceState);
setContentView(R.layout.activity_hello_world_gradle);
final TextView txtIntro= (TextView) findViewById(R.id.txtIntro);
int val = getIntegerFromNative(5); String txt= "Native says:" + getMessageFromNative() + "#value:" + String.valueOf(val);
...}
The layout of our activity is as follow :
We added a button for running the method multiple times. Just modify the onCreate method :
final TextView txtIntro= (TextView) findViewById(R.id.txtIntro);
Button buttonTest= (Button) findViewById(R.id.buttonTest);
int val = getIntegerFromNative(5);
String txt= "Native says:" + getMessageFromNative() + "#value:" + String.valueOf(val);
txtIntro.setText(txt);
buttonTest.setOnClickListener(new View.OnClickListener() {
@Override public void onClick(View view) {
Random t= new Random();
int d=t.nextInt(10);
int val = getIntegerFromNative(d);
String txt= "Native says:" + getMessageFromNative() + "#value("+String.valueOf(d)+"):" + String.valueOf(val);
txtIntro.setText(txt);
}
});
JNI part
We compile the activity class in order to generate *.class files in build folder that will be used by the JNI Helper plugin.
We then use the JNI Helper plugin to create the "jni" folder with the proper header associated to the class of the activity that we have created : right click inside the activity class, you will see the command "generate *.h by javah".
The JNI Helper plugin essentially use the command "javah -d jni -classpath dot_class_files_path package_name", avoiding configuration bugs and handling default path for android classes paths. It just works !
The header generated by JNI Helper and that can be found in jni folder declares the following associated methods:
JNIEXPORT jstring JNICALL Java_com_example_myappgradle_app_helloWorldGradle_getMessageFromNative
(JNIEnv *, jobject);
JNIEXPORT jint JNICALL Java_com_example_myappgradle_app_helloWorldGradle_getIntegerFromNative
(JNIEnv *, jobject, jint);
We will implement these methods in a C file hello.c
#include "com_example_myappgradle_app_helloWorldGradle.h"
JNIEXPORT jstring JNICALL Java_com_example_myappgradle_app_helloWorldGradle_getMessageFromNative
(JNIEnv *env, jobject obj){
return (*env)->NewStringUTF(env,"Hello World from Native ---<!!");
}
JNIEXPORT jint JNICALL Java_com_example_myappgradle_app_helloWorldGradle_getIntegerFromNative
(JNIEnv *env, jobject obj, jint d){
jint i, s=1;
for(i=1;i<=d;++i) s=s*i;//get d!
return s;
}
In order to compile the library myHello from the source file above, we need Makefile equivalent for the NDK Android.mk and Application.mk files in the jni folder.
In the Android.mk file, we simply indicate:
LOCAL_PATH := $(call my-dir)
include $(CLEAR_VARS)
LOCAL_MODULE := myHello
LOCAL_SRC_FILES := hello.c
LOCAL_CFLAGS :=
include $(BUILD_SHARED_LIBRARY)
In the Application.mk file:
APP_ABI := all
APP_STL := stlport_static
If the variable APP_STL is not set, default runtime will be used for this simple example.
Gradle configuration
Edit the file app/build.gradle and add in the android section NDK configurations:
sourceSets {
main{
jniLibs.srcDir 'src/main/libs' //jniLibs //jni.srcDirs 'src/main/jni' }
}
jniLibs.srcDir variable indicates the folder that replaces the default jniLibs folder considered by default when building your application. Using the command ndk-build will generate libraries in "libs folder" and not "jniLibs" as expected by your app... Setting properly this variable is a workaround.
jni.srcDirs indicates the folder that replace the folder "jni" for the location of the sources to be considered when using the NDK.
Then we specify the binary to be used by gradle to compile our library :
task ndkBuild(type: Exec,description: 'Compile JNI source via NDK'){
println('executing ndkBuild')
//read local.properties file def ndkBuildPath = project.plugins.findPlugin('com.android.application').getNdkFolder().absolutePath + File.separator//or com.android.library if (Os.isFamily(Os.FAMILY_WINDOWS)) {
ndkBuildPath +='ndk-build.cmd' } else {
ndkBuildPath +='ndk-build' }
commandLine ndkBuildPath, '-C', file('src/main/jni').absolutePath //'NDK_PROJECT_PATH=build','APP_BUILD_SCRIPT=src/main/jni/Android.mk'//force using appropriate Makefile
}
tasks.withType(JavaCompile){
compileTask -> compileTask.dependsOn ndkBuild
}
The tricky part "project.plugins.findPlugin('com.android.application').getNdkFolder().absolutePath + File.separator"
enables the script to properly locate the NDK directory indicated in ./local.properties file
sdk.dir=/Users/eudhan/Documents/projects/android/sdk/android-sdk-macosxndk.dir=/Users/eudhan/Documents/projects/android/sdk/android-ndk-r10d
Do not use path containing spaces or special characters in this file ... really do not.
And your are done !
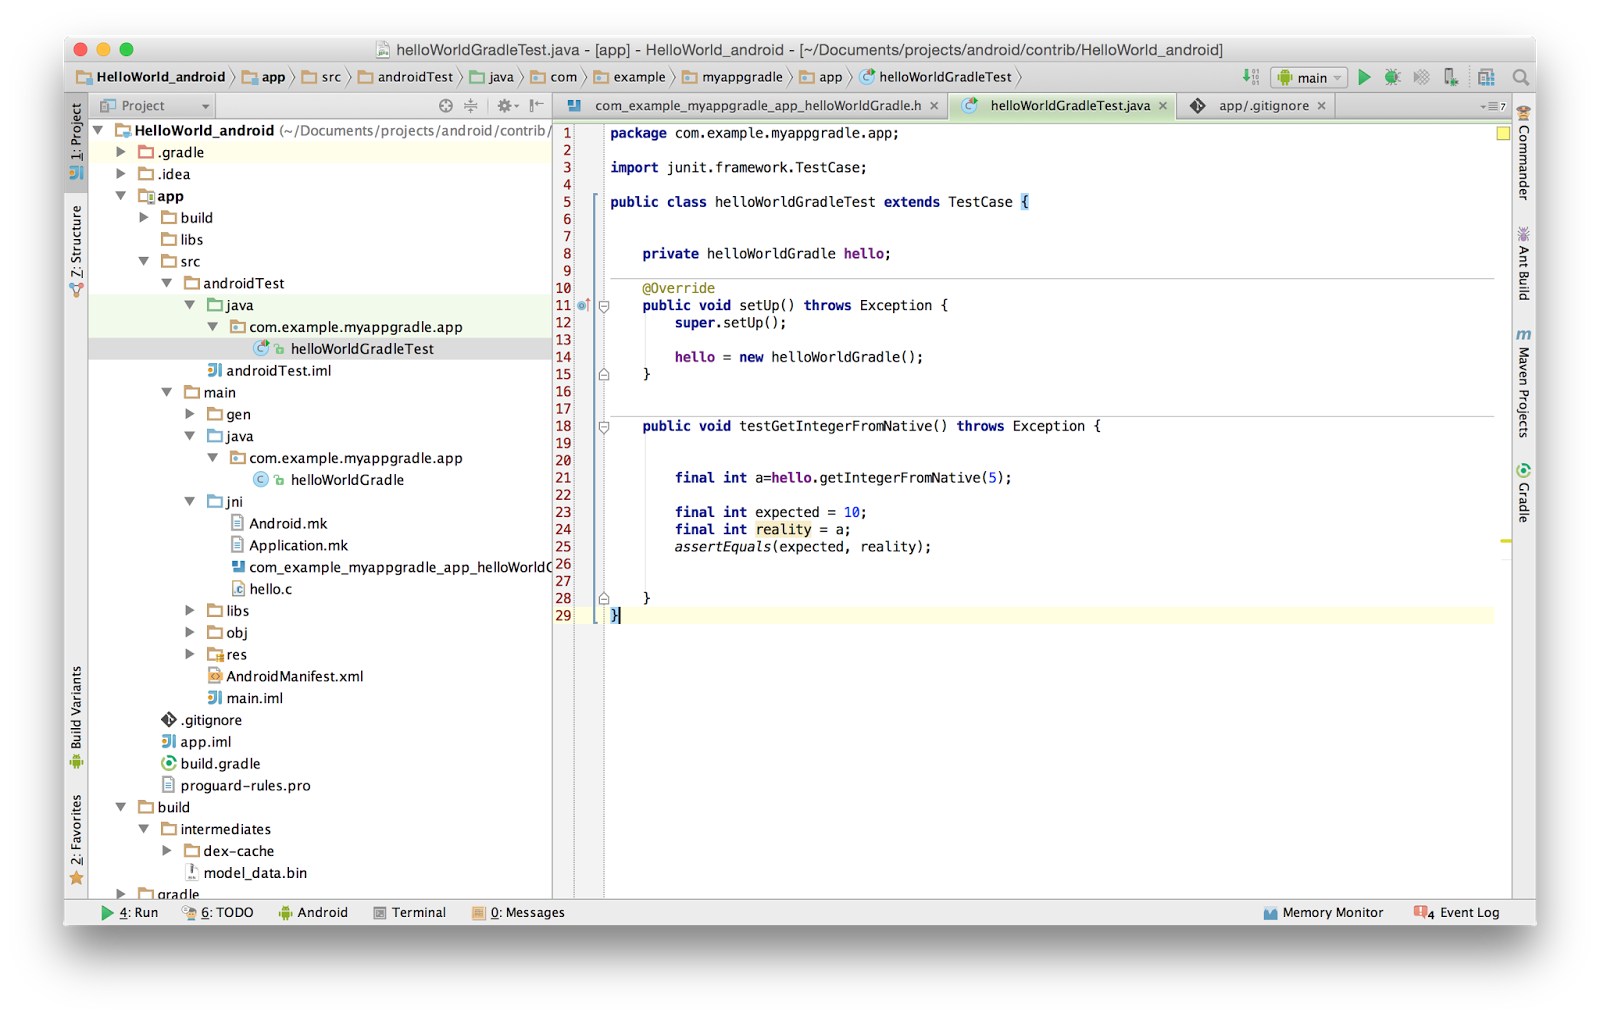
We can simply add Unit Testing to our application easily :
Click on your test folder to run all available tests in this folder:
Download this Hello World project on Github https://github.com/eudhan/HelloWorldGradleNDK